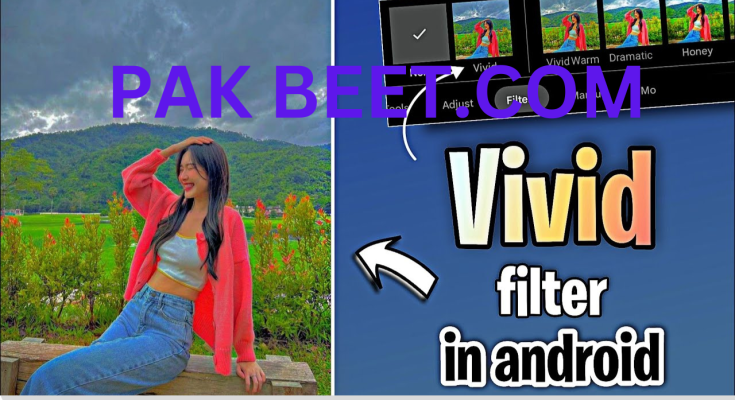
Iphones among mobile photographers are admired for their enhanced photo retouching and rich color saturation in their filters. But guess what Android users there is hope for you too. For the uninitiated, it is good to know that, with the right apps and some editing tricks, you can get iPhone-like photo editing quality including HD filters right on your Android phone. Here’s how you can do it. Compare the Best Apps for Photo Editing
First of all, you’ll need to find a photo editing app that is as functional as an iPhone’s built-in app. Here are some top recommendations:
Snapseed: While this one is notable for its outstanding editing tools that were developed by Google. It offers all the fundamental operations to the most specific choices for correcting the contrast tone and intensity of the picture, and HDR filters to ensure that the pictures get that extra burst of rich colors. Adobe Lightroom: Professionals prefer Lightroom, and editing tools are quite complete and cover all photographs. The users can increase and decrease the exposure, contrast, and colors with a lot of ease hence bringing out the best quality of the pictures.
VSCO
Some of the most sophisticated and minimalistic photo filters can be found in VSCO where you’ll find a number of presets that will make your pictures look almost like the work of professionals. It bears a simple look and feel when applying and adjusting filters to achieve the best outcomes. Apply Vivid HD Filters
Apply Vivid HD Filters
iPhones are famous for their vivid filters that enhance colors and details. Here’s how to replicate that effect on Android:
Snapseed’s HDR Scape: The HDR Scape filter of Snapseed can now generate a more intensified and enhanced image, which is perfect for making depth to the picture. You can also change the intensity to its highest level rendering your images in glorious colors.
VSCO’s Bold Presets: VSCO offers a selection of presets that are designed to enhance color saturation and contrast, similar to the vivid filters on iPhones. Experiment with these presets to find the perfect balance for your photo.
Lightroom’s Color Grading: Color grading is skin in Lightroom where one can adjust the hue, saturation, and luminance of every color in a picture. This lets you create a custom vivid filter that brings out the best in your image.
Refine Your Edits
For a truly professional look, it’s important to fine-tune your edits:
Adjust Lighting: Check if the exposure and the contrast levels allow the main objects of the photo occupy top positions. A higher contrast helps improve your image and just as with increasing contrast, adjusting exposure also helps to avoid overexposure.
Enhance Sharpness: Enhancing our photo sharpens the hair and other small features that can make the photo look real. Be very cautious about how you use this tool as a little going overboard in sharpening can give your photograph a boosted but fake appearance.
Selective Editing: The Snapseed and Lightroom for instance have options that enable the user to edit specific regions in the picture. This can be particularly useful to correct the overlaying of portions of the image or add more contrast in specific areas.
Save in High Quality
After editing, save your photos in the highest quality possible. Most apps allow you to save images in formats that preserve detail, like PNG or high-resolution JPEGs. This ensures your edits retain their vividness and clarity when shared on social media or viewed on larger screens.
Conclusion
Using these tips and the right applications you can get the iPhone-like photo editing on your Android-based phone. If you want to achieve eye-popping, bright, highly visible photos then you should use apps such as Snapseed, Lightroom, and VSCO, you’ll find them extremely helpful in applying vivid HD filters that make your photos and videos pop. Whether you are just trying to improve your casual photos or if you are doing a project for a photography course or for a photojournalism job, these tips are handy for Android devices.


